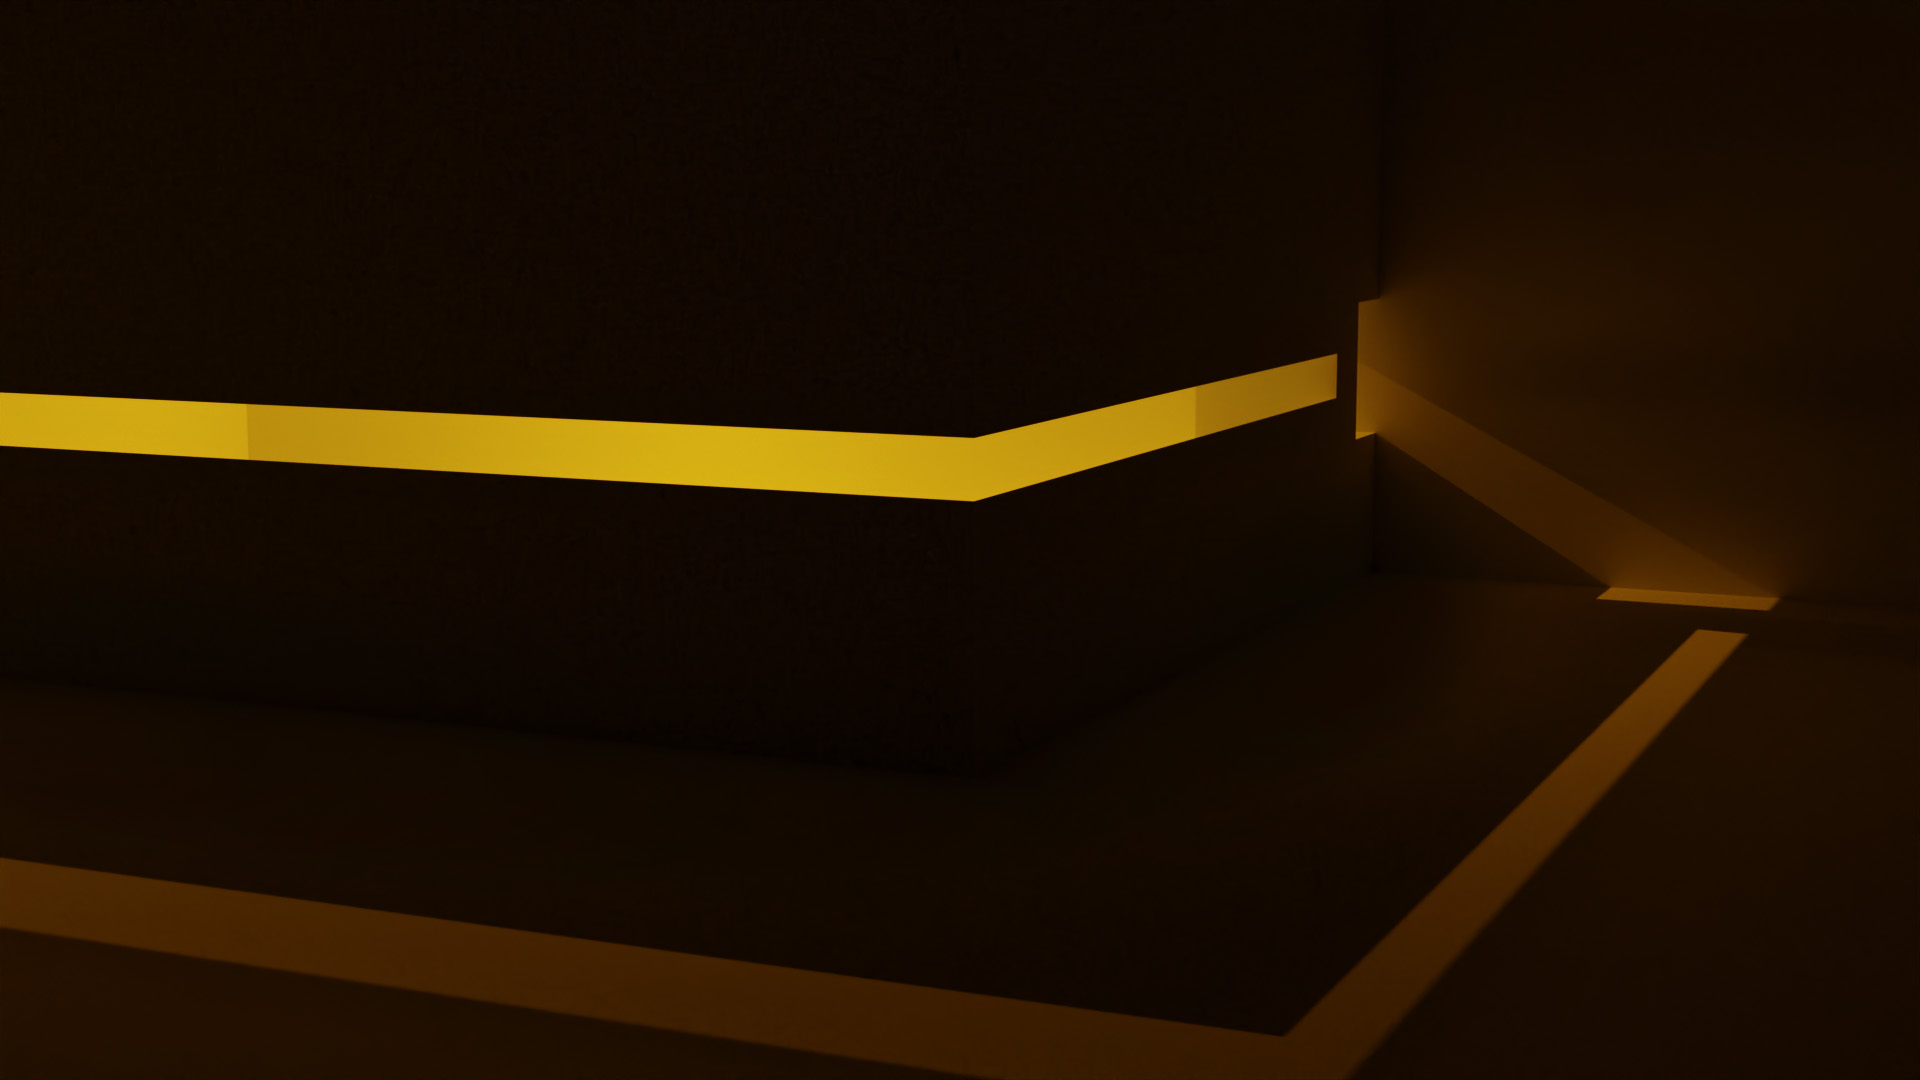
To get to know Blender I had to make scene from the movie "Blade Runner 2049".
The movie is known for its stunning scenes, that are pleasant to look at.
So I had to pick a scene that I thought, I could recreate in Blender.
Also I had to use different renders styles: Eevee and Cycles.
First Iteration
My first idea was to recreate a scene where there was some wate above the glas in the ceiling, that is reflecting on the walls.
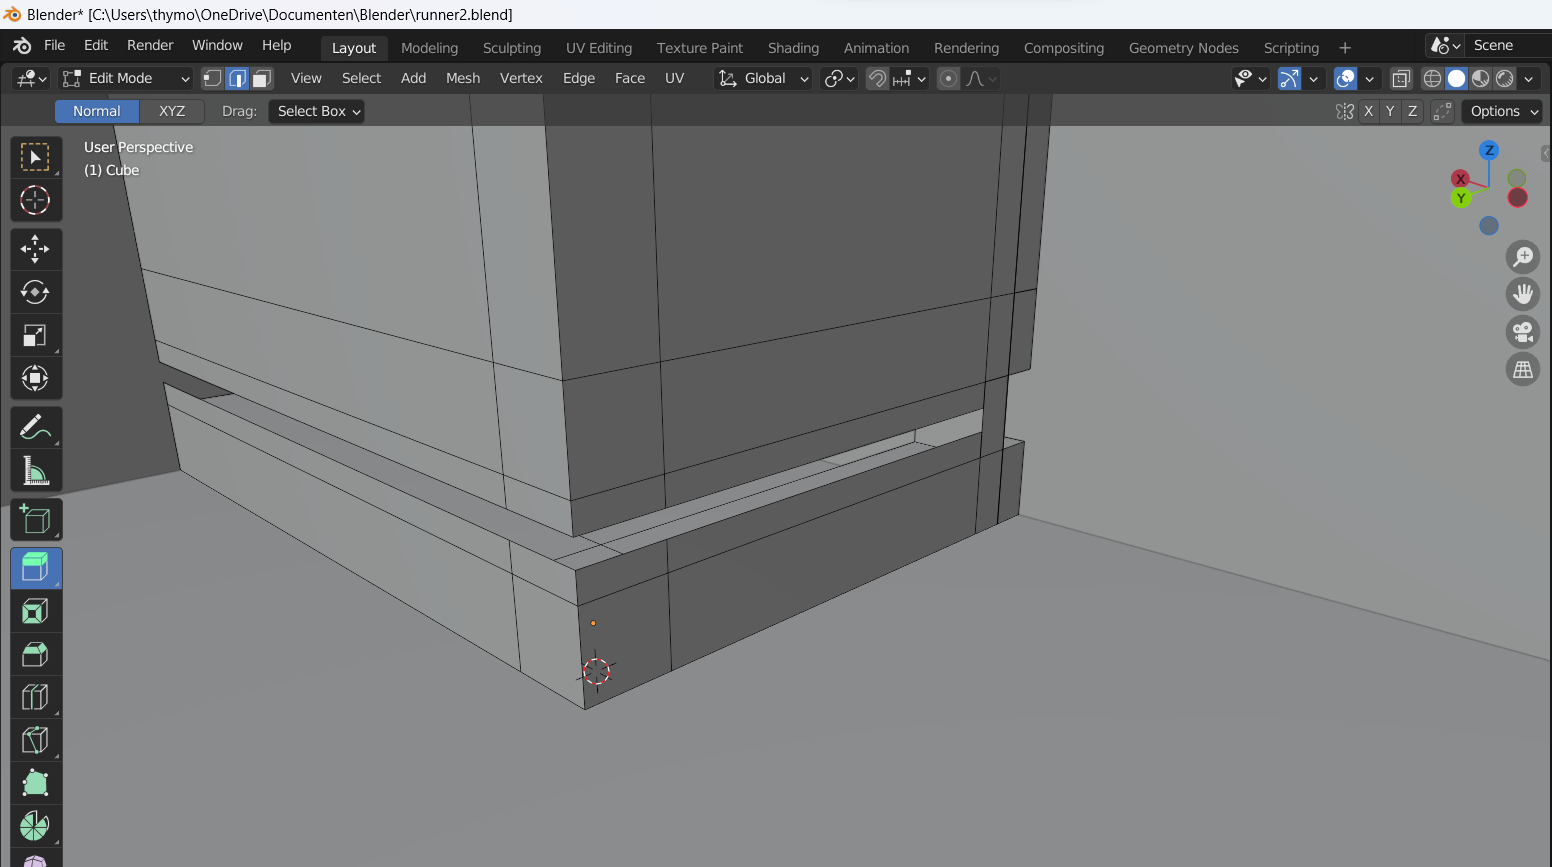
So tried to build it in Blender, I made the whole building to make it look like the scene.
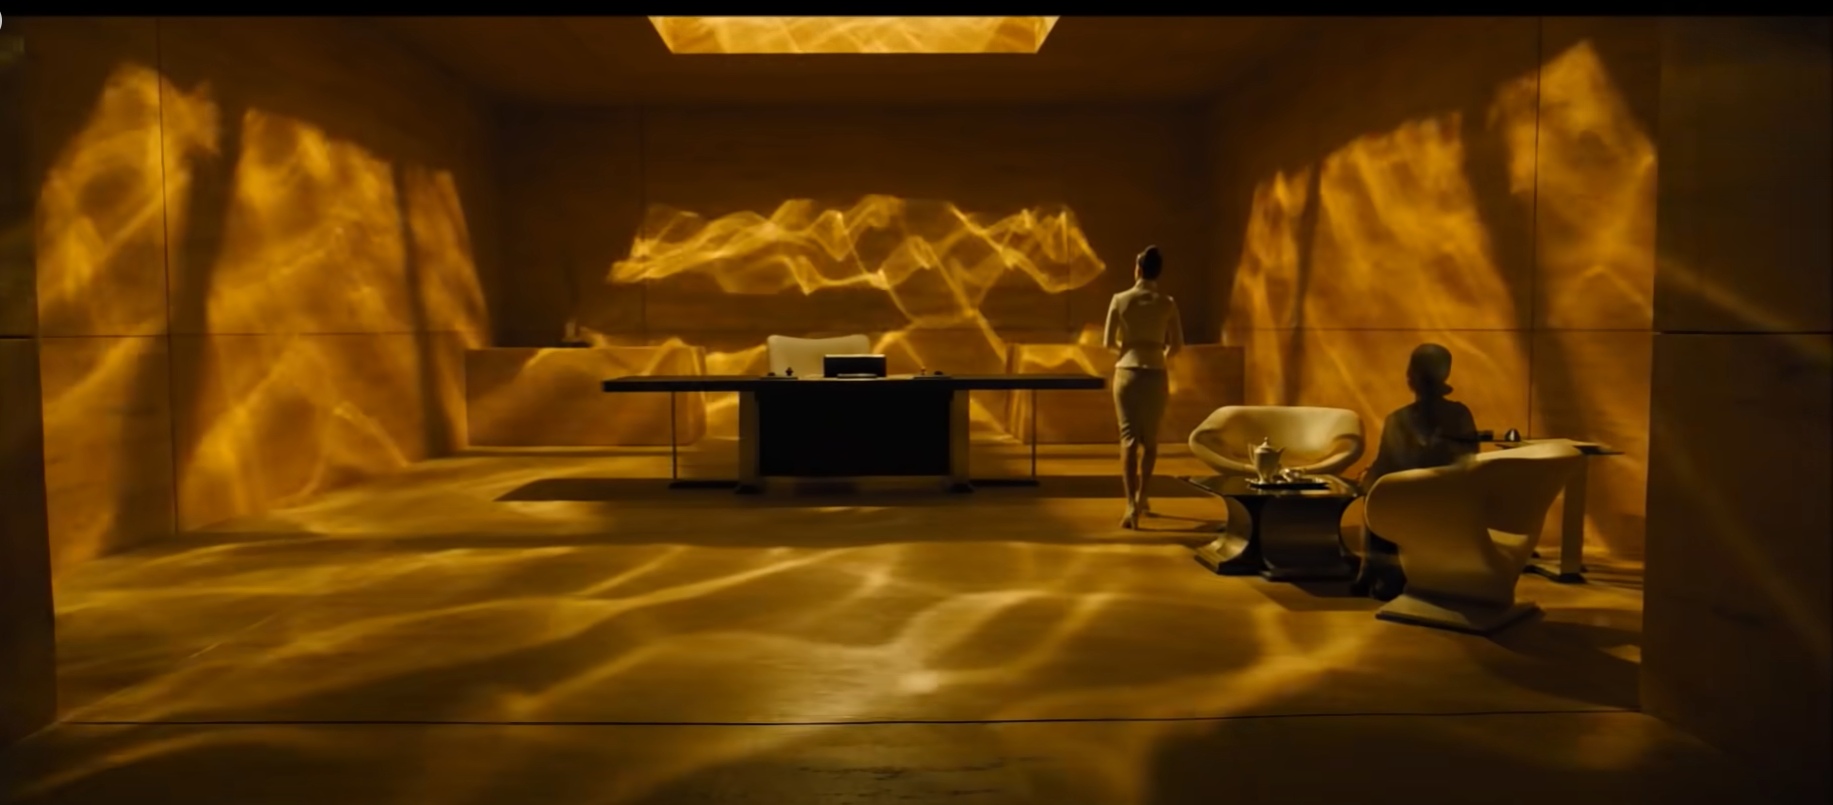
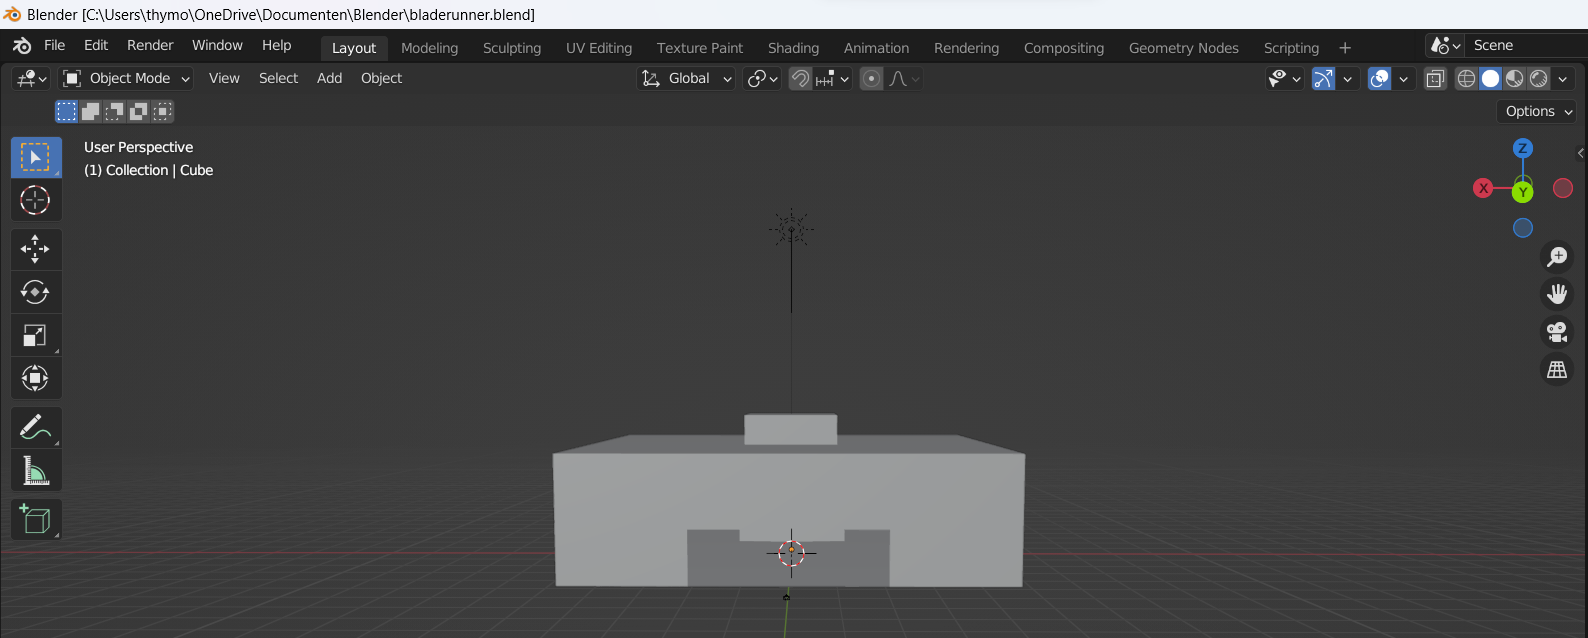
But then I came at the water part, I searched on google and YouTube how to display the reflections on the walls
But after doing research and trying it by myself, I encountered a problem and that is that you need raytracing to create the image that I wanted.
Only the sad thing is that I don’t have a video card that supports raytracing.
So I searched for a new scene that I surely could recreate.
Second iteration
After a rough start I made a new plan and that was to make a different scene where I don't have to use the water reflections.
I instead chose for a dark scene with some light that gives a moody vibe to it.
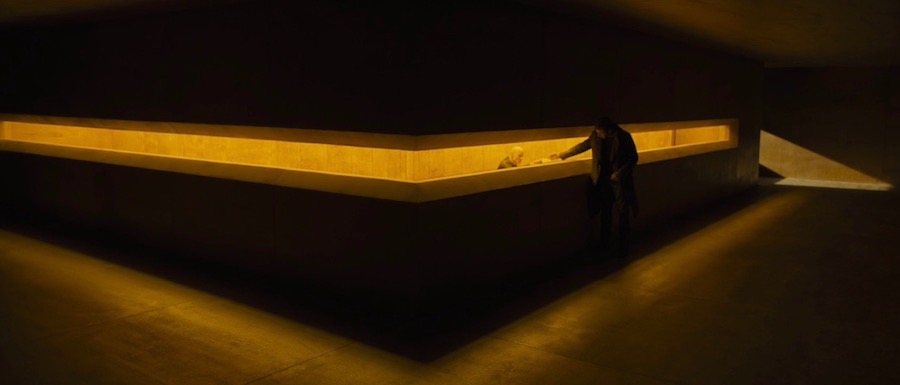
For the Light I used an area light, because it was a bit closer to the scene on the picture and set the light level to 5000 W.
The color of the light is orange/yellow and turned it dark.
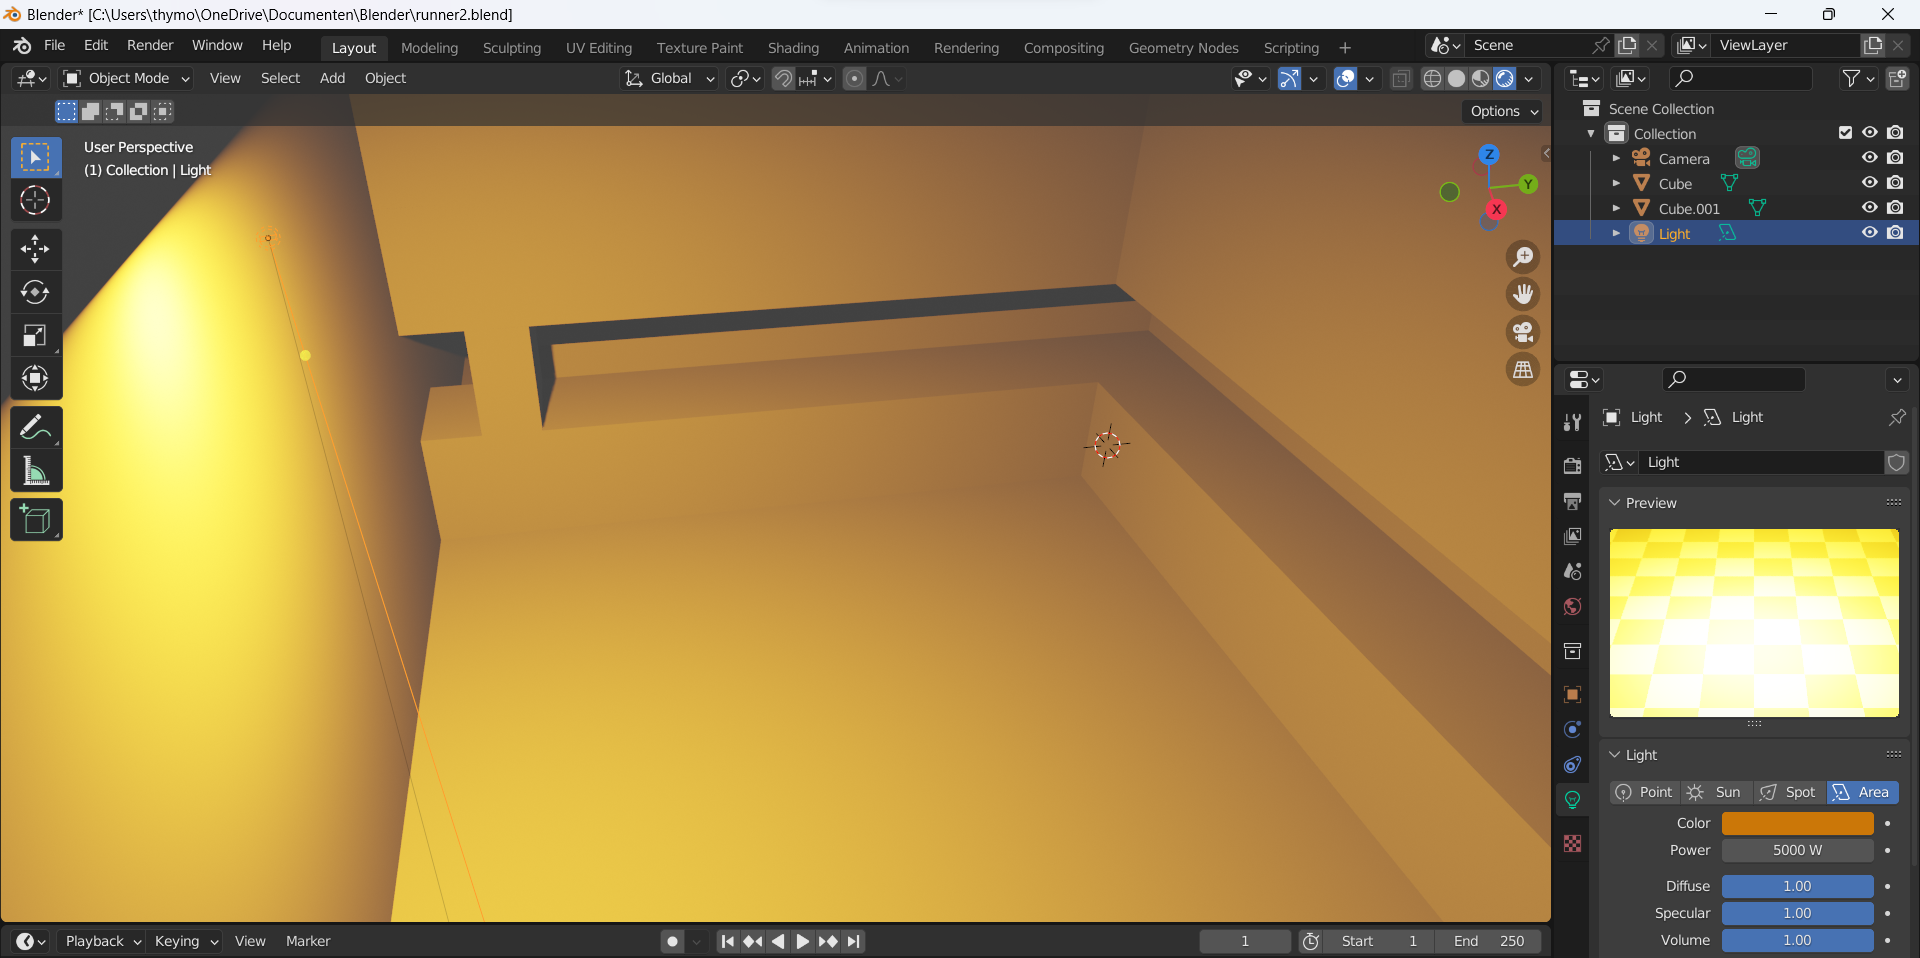
I adjusted the camera settings and put it in the spot like on the first picture I was planning to recreate.
Render with Cycles
Render with Eevee
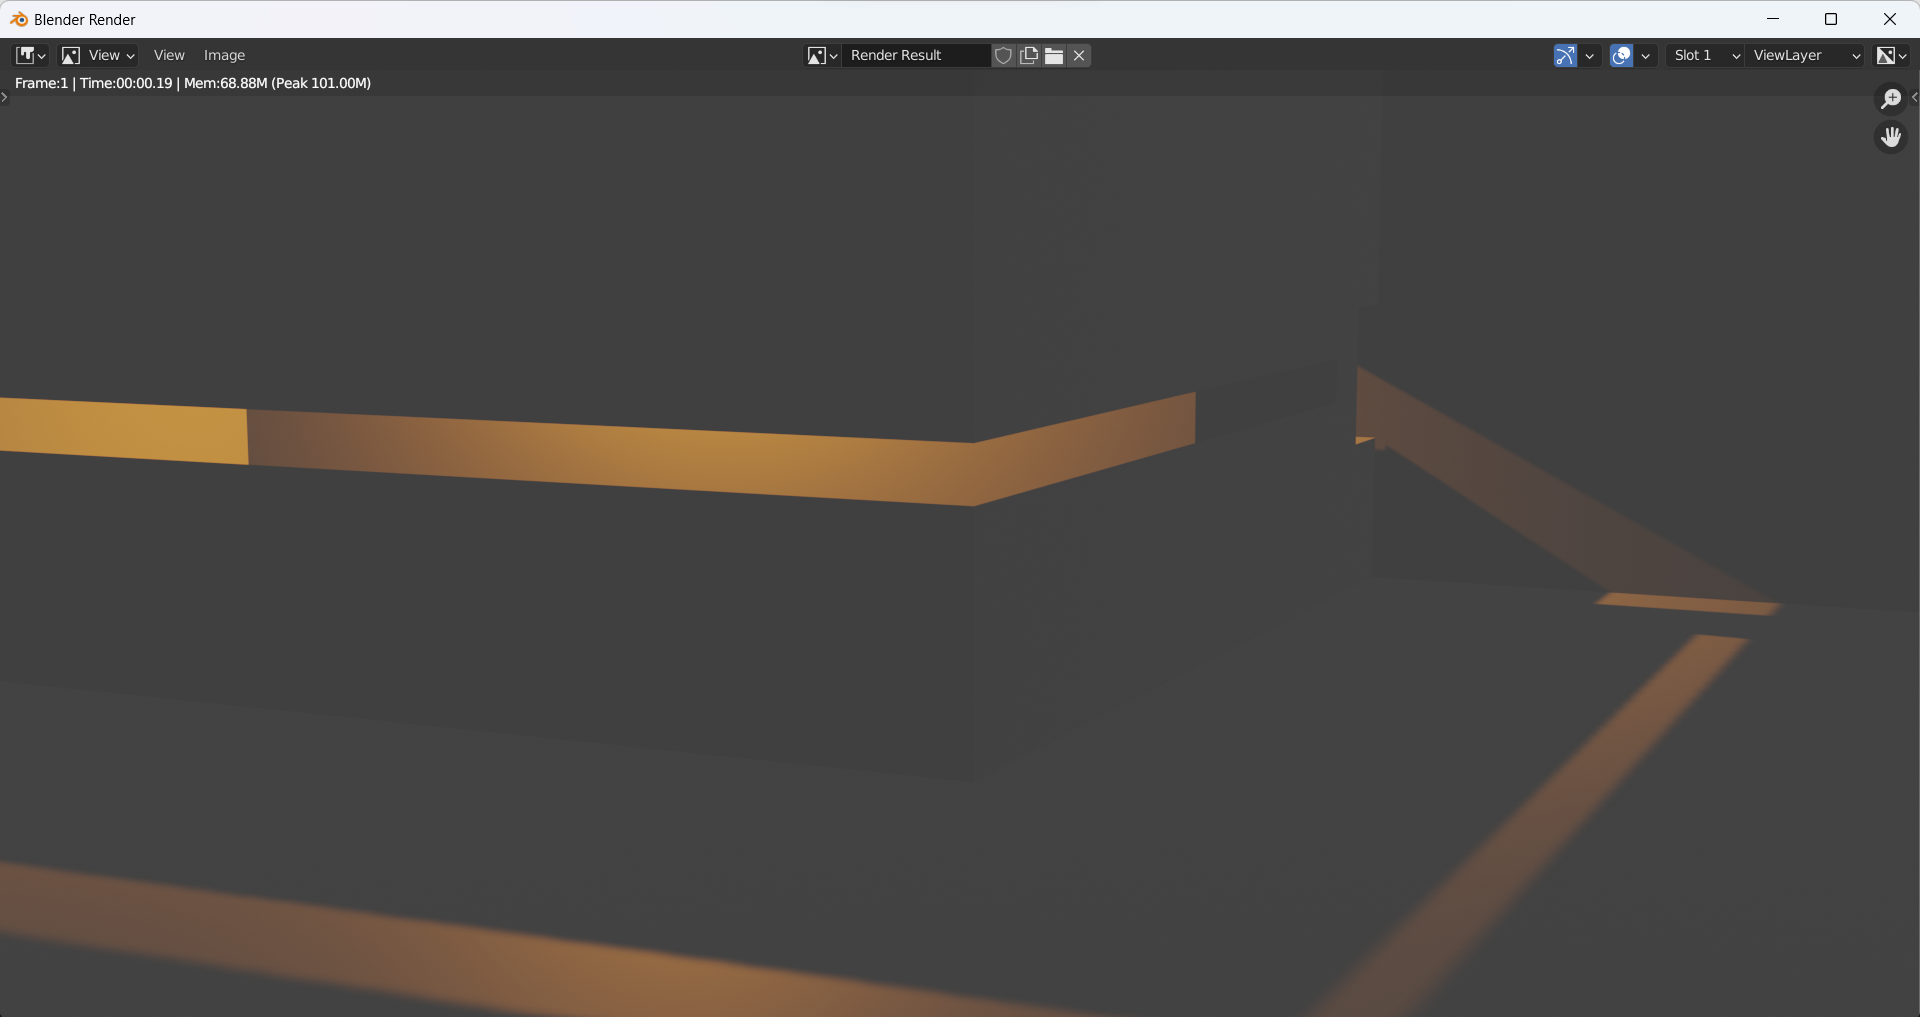
The difference between Eevee and Cycles is that Cycles also calculate all the rays of light that reflects in the image this takes some time.
On the other hand Eevee use direct lighting it doesn’t calculate all the rays of light.
Rendering is Eevee is significantly shorter.
Here you can see the same image rendered with Eevee.
Photoshop
I wanted my lighting in some areas to be a bit darker, so I used Photoshop for some last touches to the image.
I used the burn tool in Photoshop and set my brush size to around 200 pixels to did some darkening under the dark counter to make it look darker, I also made the light in the top right a bit darker.
Here you can see the final result: